CasingThe Casing Menu (#1) is found on the EditTools Ribbon (#2). 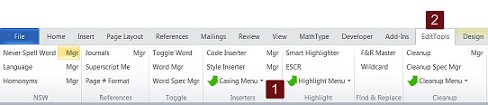
Clicking on Casing Menu (#1) shows the dropdown menu (#3) with the choices. Each of the first 4 items in the menu is a macro. Click it, and it will apply casing to the word in which your cursor is located. To apply the casing to a paragraph, select the paragraph then run the macro. Of particular interest, however, is the Head Casing Manager (blue arrow), because it is this Manager that governs the casing for the Style Inserter. 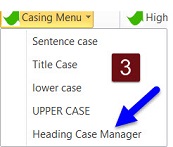
With the Casing Manager open, either open an existing casing dataset or create a new dataset (#4). To add words to the dataset, enter them in the Word field (#5). By default, the word will be made Title Case; if you want the word to be always made All Caps or All lowercase, click in the appropriate Formatting Options box (#6, blue and red arrows). However, sometimes we want a word that otherwise should be lowercase to remain uppercase (e.g., if an author's middle initial is A.). In this instance, also check the Ignore rule box (#7, purple arrow). When done, click Add (#8) to add the word to the dataset. It will appear in the main window (#9), along with the options you have chosen. To modify an entry, double-click it in the Main field (#9). To remove an entry, select it and click Delete (#10). Remember that you use the Casing Manager to control casing options that are used in the Style Inserter. 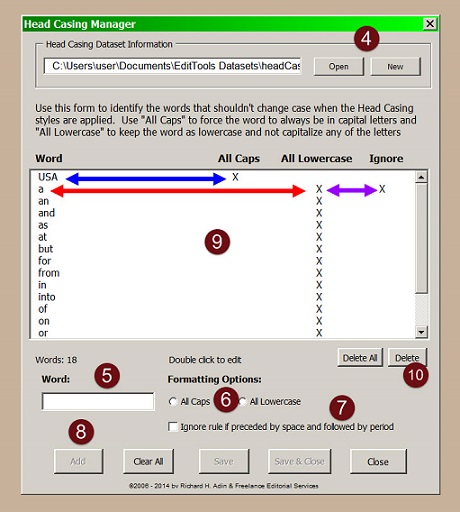
|
Read More
Purchase a license to use EditTools by clicking the link below |